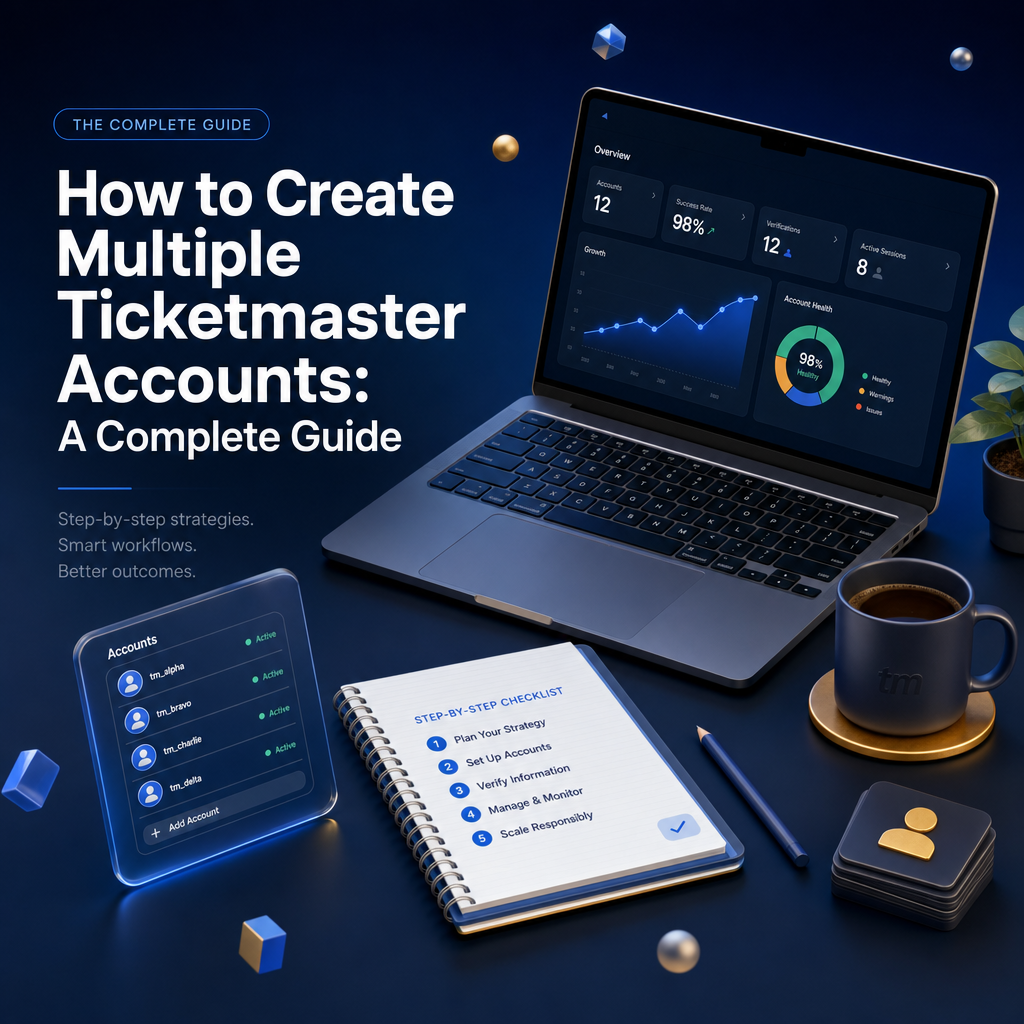
For serious ticket brokers, having multiple Ticketmaster accounts is essential for maximizing your chances during high-demand on-sales. But creating accounts that actually work, and don't get banned, requires strategy and planning. In this comprehensive guide, we'll walk you through the entire process from start to finish, covering email creation, account aging, phone verification, and best practices to keep your accounts healthy.
Why Multiple Accounts Matter
Before diving into the how, let's understand the why. Ticketmaster limits how many tickets each account can purchase per event. During hot on-sales, having multiple accounts means:
- More chances to get through the queue
- Higher ticket limits across all your accounts
- Backup options if one account gets flagged
- Ability to target different sections simultaneously
Step 1: Creating Your Email Accounts
Every Ticketmaster account starts with an email address. This is the foundation of your account, so don't rush this step.
Choosing an Email Provider
The most trusted email providers for Ticketmaster accounts are:
- Gmail: The gold standard. Google accounts are highly trusted and rarely flagged. You can create multiple Gmail accounts, but Google may require phone verification for new accounts.
- Outlook/Hotmail: Microsoft accounts are also well-trusted. They're slightly easier to create in bulk than Gmail and work perfectly with Ticketmaster.
- Yahoo Mail: Another reliable option, though less commonly used.
- ProtonMail: Good for privacy, but some brokers report occasional issues with verification emails.
Pro Tip: Avoid disposable email services (like Guerrilla Mail or 10MinuteMail). Ticketmaster can detect and block these domains.
Email Creation Best Practices
- Use realistic names: Create emails that look like real people (john.smith2847@gmail.com) rather than obvious patterns (tickets001@gmail.com).
- Vary your creation pattern: Don't create 10 emails in one sitting from the same IP. Space them out over days or weeks.
- Use different browsers/devices: Create emails from different devices or browser profiles to avoid detection.
- Add recovery options: Set up recovery emails and phone numbers so you don't lose access to your accounts.
Step 2: Why Old Accounts Are Better (Account Aging)
One of the most overlooked aspects of Ticketmaster accounts is account age. Ticketmaster's anti-bot systems give more trust to older accounts with purchase history. Here's why aging matters:
Benefits of Aged Accounts
- Higher trust score: Accounts that have existed for months or years are less likely to be flagged as bots.
- Better queue priority: Some brokers report that older accounts with purchase history get through queues faster.
- Lower verification friction: New accounts often face additional CAPTCHA challenges and security checks.
- Established payment history: Accounts with successful past purchases have verified payment methods on file.
How to Age Your Accounts
The best time to create new accounts is now, even if you don't plan to use them immediately. Here's how to build account trust over time:
- Create accounts early: Build your account inventory 3-6 months before you need them.
- Make small purchases: Buy cheap tickets to local events occasionally. This builds purchase history.
- Browse and engage: Log in periodically, browse events, add things to your cart (even without purchasing).
- Keep accounts active: Dormant accounts can be flagged. Regular activity keeps them healthy.
Important: If you're buying pre-aged accounts from someone else, be extremely careful. You don't know the account's history, and it could already be flagged.
Step 3: The Ticketmaster Account Creation Process
Now that you have your emails ready, here's the step-by-step process for creating Ticketmaster accounts:
Basic Account Setup
- Go to ticketmaster.com and click "Sign In" then "Sign Up"
- Enter your prepared email address
- Create a strong, unique password (use a password manager!)
- Fill in your name, use a realistic name that matches the "style" of your email
- Add a phone number for verification (see next section)
- Complete any CAPTCHA challenges
- Verify your email by clicking the link Ticketmaster sends
Profile Optimization
After creation, complete your profile to look more legitimate:
- Add a billing address (use real addresses you have access to)
- Save a payment method (prepaid cards work, but real credit cards are better for trust)
- Set your location/region preferences
- Enable notifications for events (shows engagement)
Step 4: Phone Verification Strategies
Phone verification is often the biggest hurdle when creating multiple accounts. Ticketmaster uses SMS verification to prevent bot accounts. Here are your options:
Option 1: Use Family and Friends' Numbers
The simplest and most reliable method. Ask family members or close friends if you can use their phone numbers for verification. Benefits:
- Real phone numbers with history
- No cost
- Numbers aren't flagged as virtual/VoIP
Tip: Keep track of which number is linked to which account. A simple spreadsheet helps here.
Option 2: Use Multiple Physical Devices
If you have old phones or tablets lying around, you can get cheap prepaid SIM cards:
- Prepaid SIMs: Buy cheap prepaid SIM cards from carriers like Mint Mobile, Tello, or even Walmart's Straight Talk. You can get numbers for as little as $5-15.
- Keep them active: Most prepaid numbers expire if unused. Make a small top-up every few months to keep them active.
- Use different carriers: Vary your carriers (T-Mobile, AT&T, Verizon) for better diversity.
Option 3: SMS Verification Services
For scaling beyond what family and physical SIMs allow, you can use SMS verification services. These provide temporary or semi-permanent phone numbers for receiving verification codes:
Popular services include:
- SMSPool: Pay-per-verification service with numbers from various countries. Good for one-time verifications.
- 5SIM: Another reliable pay-per-use service with competitive pricing.
- TextVerified: Offers both temporary and long-term number rentals.
- Hushed / Burner: Apps that give you secondary phone numbers on your existing device.
Important warnings about SMS services:
- Some numbers are recycled and may already be flagged
- VoIP numbers (Google Voice, etc.) are often blocked by Ticketmaster
- Cheaper isn't always better, low-quality numbers get detected
- Always test with a less important account first
Option 4: Number Rental Services
For accounts you want to keep long-term, consider renting dedicated numbers:
- Services like SMSPool rental or Daisycon offer monthly number rentals
- You get exclusive use of the number (not shared)
- Better for accounts that may need re-verification later
- More expensive but more reliable long-term
Step 5: Keeping Your Accounts Safe
Creating accounts is just the beginning. Keeping them unbanned requires ongoing care:
Use Dedicated Proxies
Never access multiple Ticketmaster accounts from the same IP address. Use residential proxies with one proxy per account. (See our guide: Why Do You Need Proxies as a Ticket Broker?)
Browser Profile Isolation
Each account should have its own browser profile or use anti-detect browsers like:
- GoLogin
- Multilogin
- Incogniton
These create unique browser fingerprints for each account, preventing Ticketmaster from linking them together.
Maintain Natural Behavior
- Don't log into all accounts simultaneously
- Vary your browsing patterns
- Make occasional legitimate purchases
- Don't always buy max ticket limits
Keep Records
Maintain a secure spreadsheet or database tracking:
- Email address and password
- Phone number used for verification
- Proxy assigned to the account
- Account creation date
- Purchase history
- Any flags or issues
Common Mistakes to Avoid
- Using the same password everywhere: If one account is compromised, they all are.
- Creating too many accounts too fast: Ticketmaster notices patterns. Spread creation over weeks.
- Ignoring account health: Unused accounts get stale. Active accounts perform better.
- Using Google Voice numbers: These are VoIP and often blocked.
- Sharing info across accounts: Different emails should have different names, addresses, etc.
FAQ: Multiple Ticketmaster Accounts
Is running multiple accounts against Ticketmaster's terms?
Ticketmaster's terms generally expect one account per person, and the platform actively looks for linked accounts. Understand that risk before you scale and weigh it against your goals. This guide explains how brokers manage accounts; it is not a guarantee against enforcement.
How many accounts should I create?
Start with a small number you can genuinely keep separated (email, payment, IP, device). Separation and quality matter far more than raw quantity; a few clean accounts beat many sloppy ones.
Do I need a different payment method for each account?
Reusing the same card across accounts is a common way they get linked. Brokers typically use distinct payment details per account to keep them isolated.
Why does account age matter?
Older, active accounts with a normal history tend to face fewer restrictions than brand-new ones created right before a big on-sale. That is why brokers create and age accounts well in advance.
Conclusion
Building a solid inventory of Ticketmaster accounts takes time and planning, but it's one of the most important investments you can make as a ticket broker. Start creating accounts now, even if you don't have a specific event in mind. Age them, keep them active, and when that hot on-sale hits, you'll be ready with multiple shots at securing tickets.
Remember: quality over quantity. Five well-maintained, aged accounts will outperform twenty fresh accounts that get flagged immediately. Take your time, follow best practices, and your account inventory will become one of your most valuable assets.
Ready to put your accounts to work? Use ProTickets to discover upcoming high-demand events, track price trends, and plan your buying strategy. Sign up today and never miss a profitable opportunity.
Related articles
Ready to become a ticket broker?
Join ProTickets and get access to pro-grade tools, live data, and insider strategies trusted by top resellers.
Get started for free